If your engineer said this:
 Structural Engineers
Join me for an inspection of a waffle slab before it is poured.
Check out our inspection of this waffle slab before it is poured. Give it a thumbs up if you’d like to know the 10 most important things to look for when inspecting a waffle slab.
I had an enquiry the other day.
“What materials are used to build a waffle foundation?”
The materials used to build are waffle foundation are:
Post a comment or a question on any one of our pages. We’d love to hear your ideas and questions.


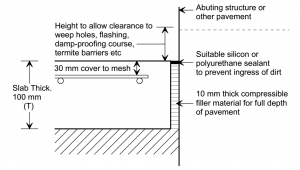
Can termites enter your house through cracks in your concrete slab?
According to research by the Cement and Concrete Association of Australia, a concrete slab designed and built following our current footing and slab standard AS2870 should keep termites out.
According to the CCAA data sheet, termites can’t get through cracks less than 1.4mm wide. Even though termites are smaller than that, they don’t like the rough concrete edges and have to mud line the crack to make it through.
So if your house slab is designed by a structural engineer to comply with AS2870, the Australian code for residential footings and slabs, then termites should not be able to enter your house through cracks in the slab.
I know you want to read more for yourself, so here’s the link:

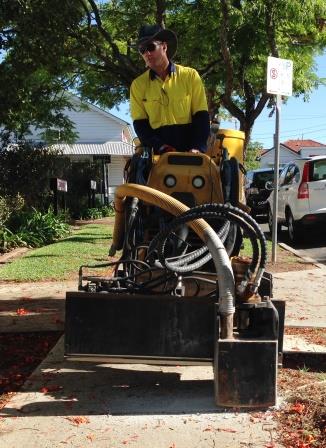
If anyone has noticed that uneven footpaths have been made smooth again around Brisbane, this is the machine responsible for that work.
The gentlemen smoothing the footpath were kind enough to let me take a photo.
A raft slab is a reinforced concrete slab on ground that is strengthened with integral concrete beams in both directions.
Usually, a raft slab is used as the foundation for new houses and extensions. Raft slabs in Australia are designed to comply with Australian standard AS2870.
At Cornell Engineers, we call the strengthening beams strip footings (because they run in parallel strips). The beams around the outside are called edge beams.
The slab portion of a raft footing and slab is normally 100mm (4 inches) thick.
Sometimes the slab is made thicker, up to 150mm (6 inches) thick, to make it stronger or able to span further.
The strip footings vary in depth depending on the soil conditions on the site. A site classification by a soil tester tells us how reactive the clays are.
Then the stip footing design is done in accordance with AS2870.
In residential buildings, the minimum thickness of a raft slab is 85mm (3.35 inches) in waffle slab construction and 100mm (4 inches) in raft slab construction.
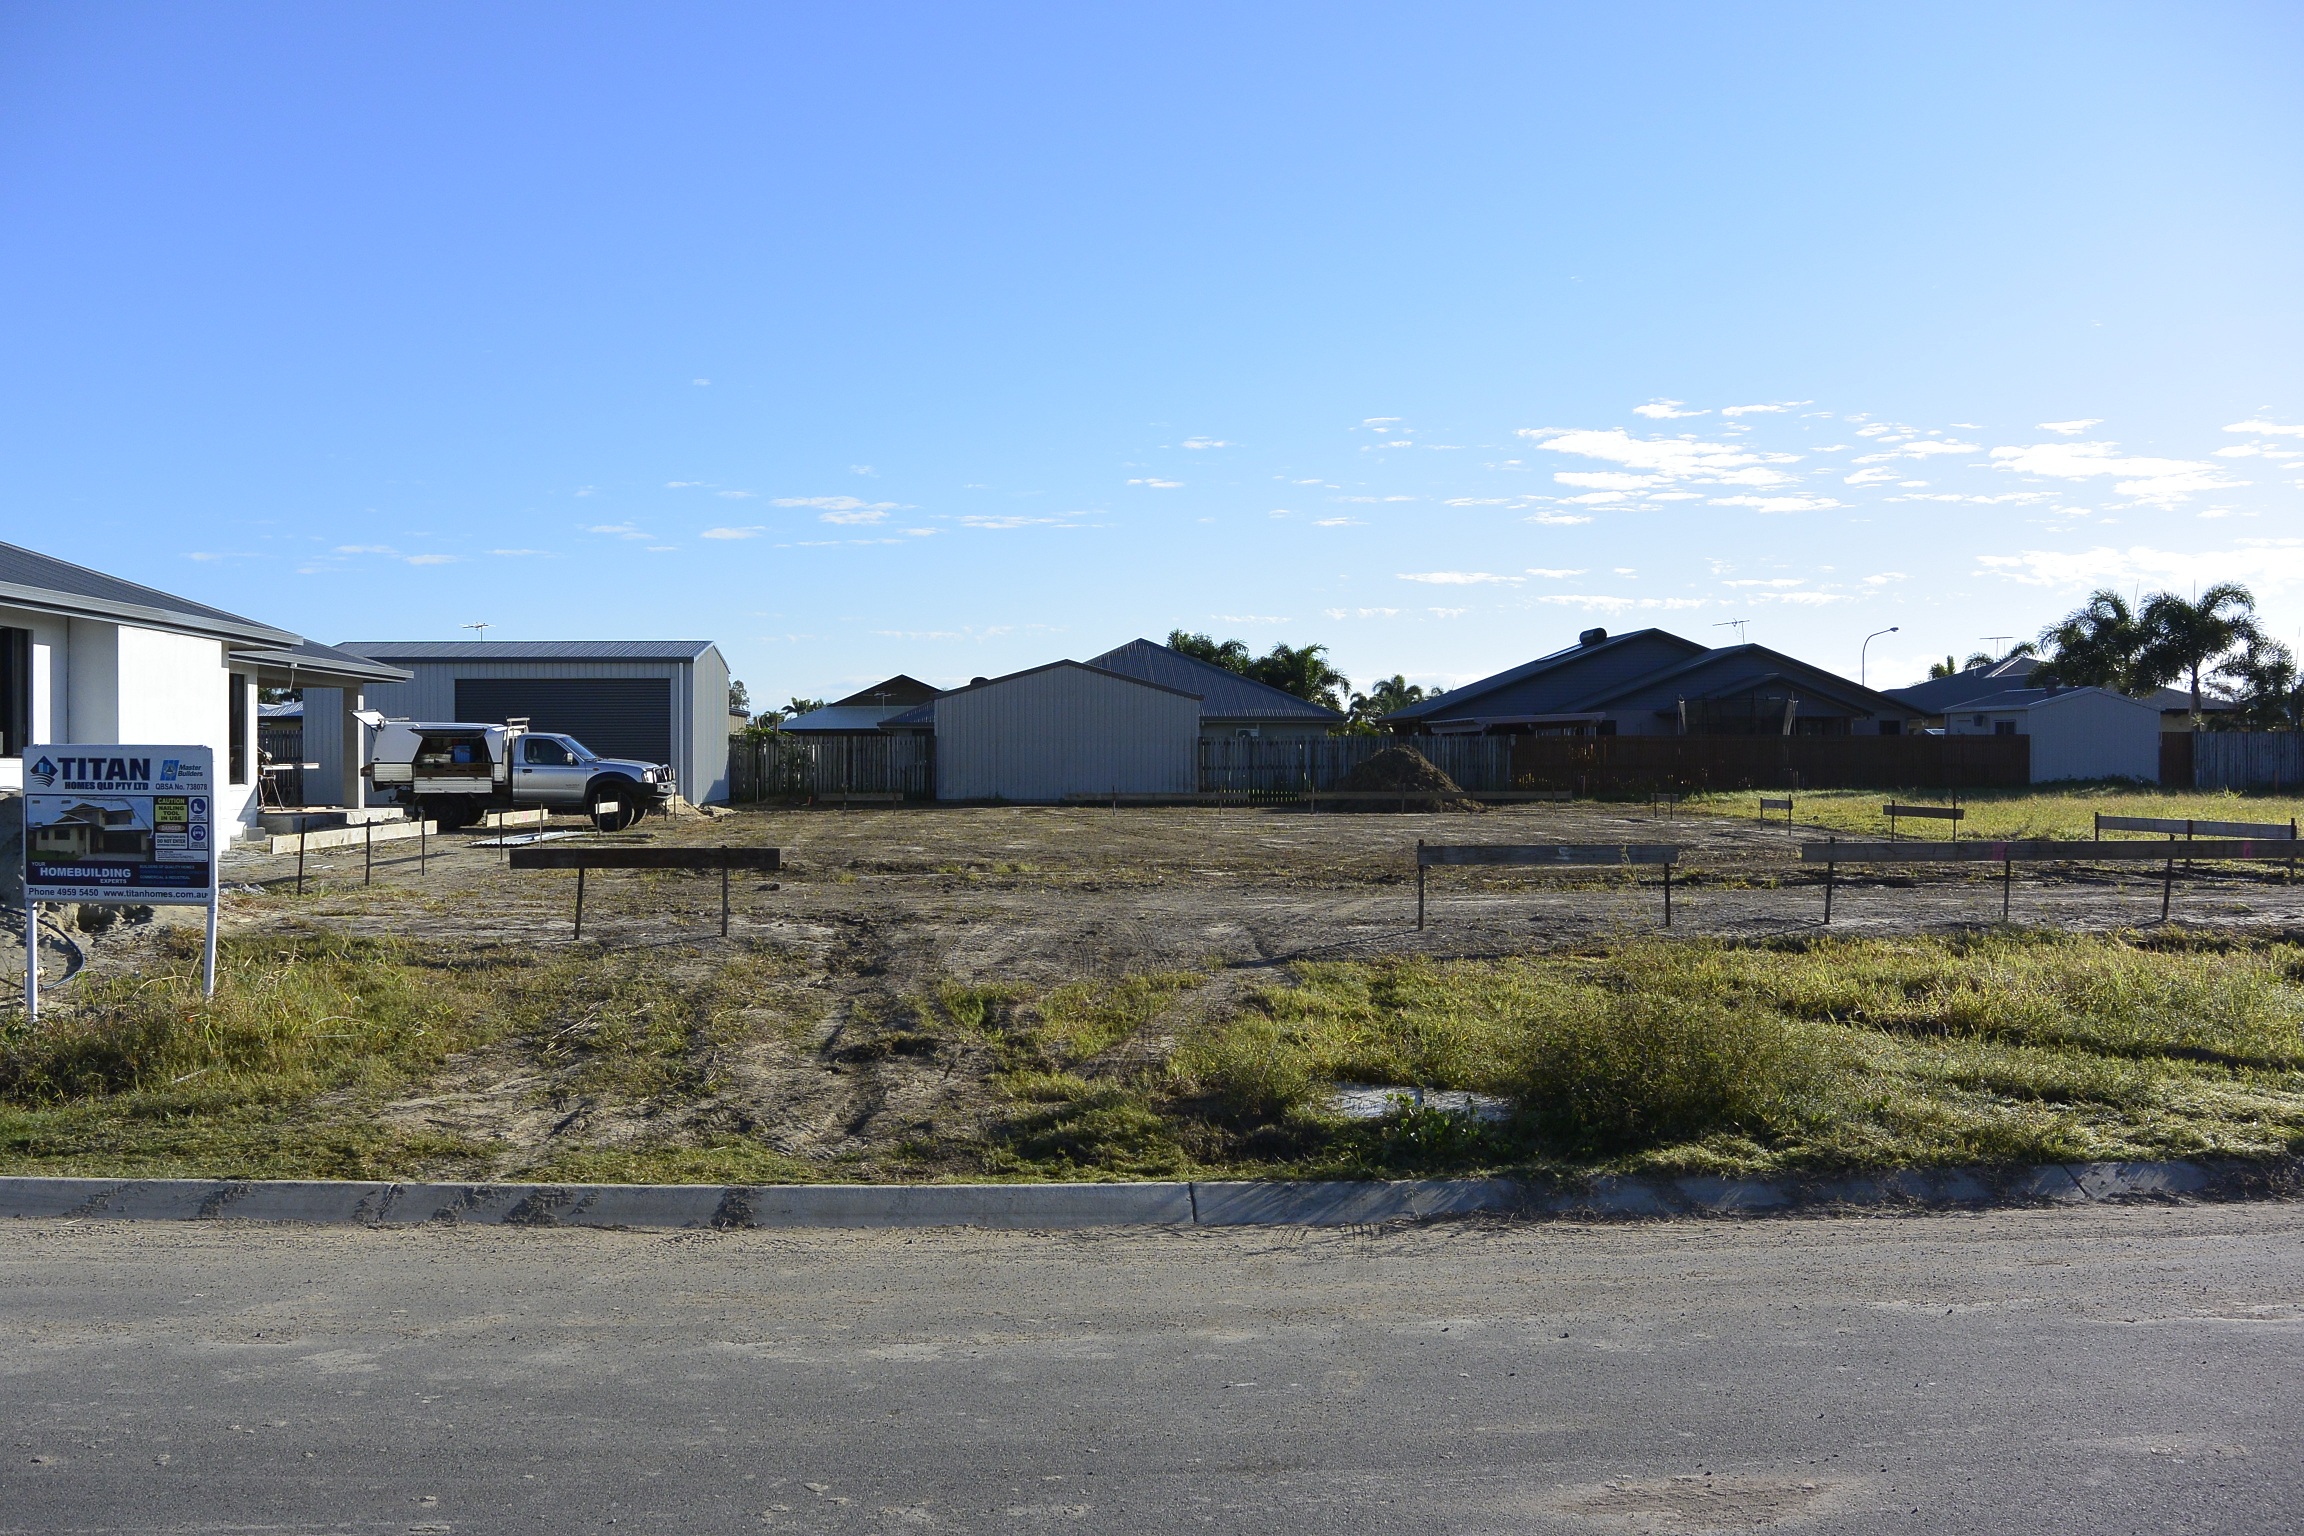
Here’s the process for building a raft slab for a house.
A builder sets out the outer boundaries of the house using surveying equipment.
Smart builders use a surveyor to make sure the house is in the correct location and on the correct site!
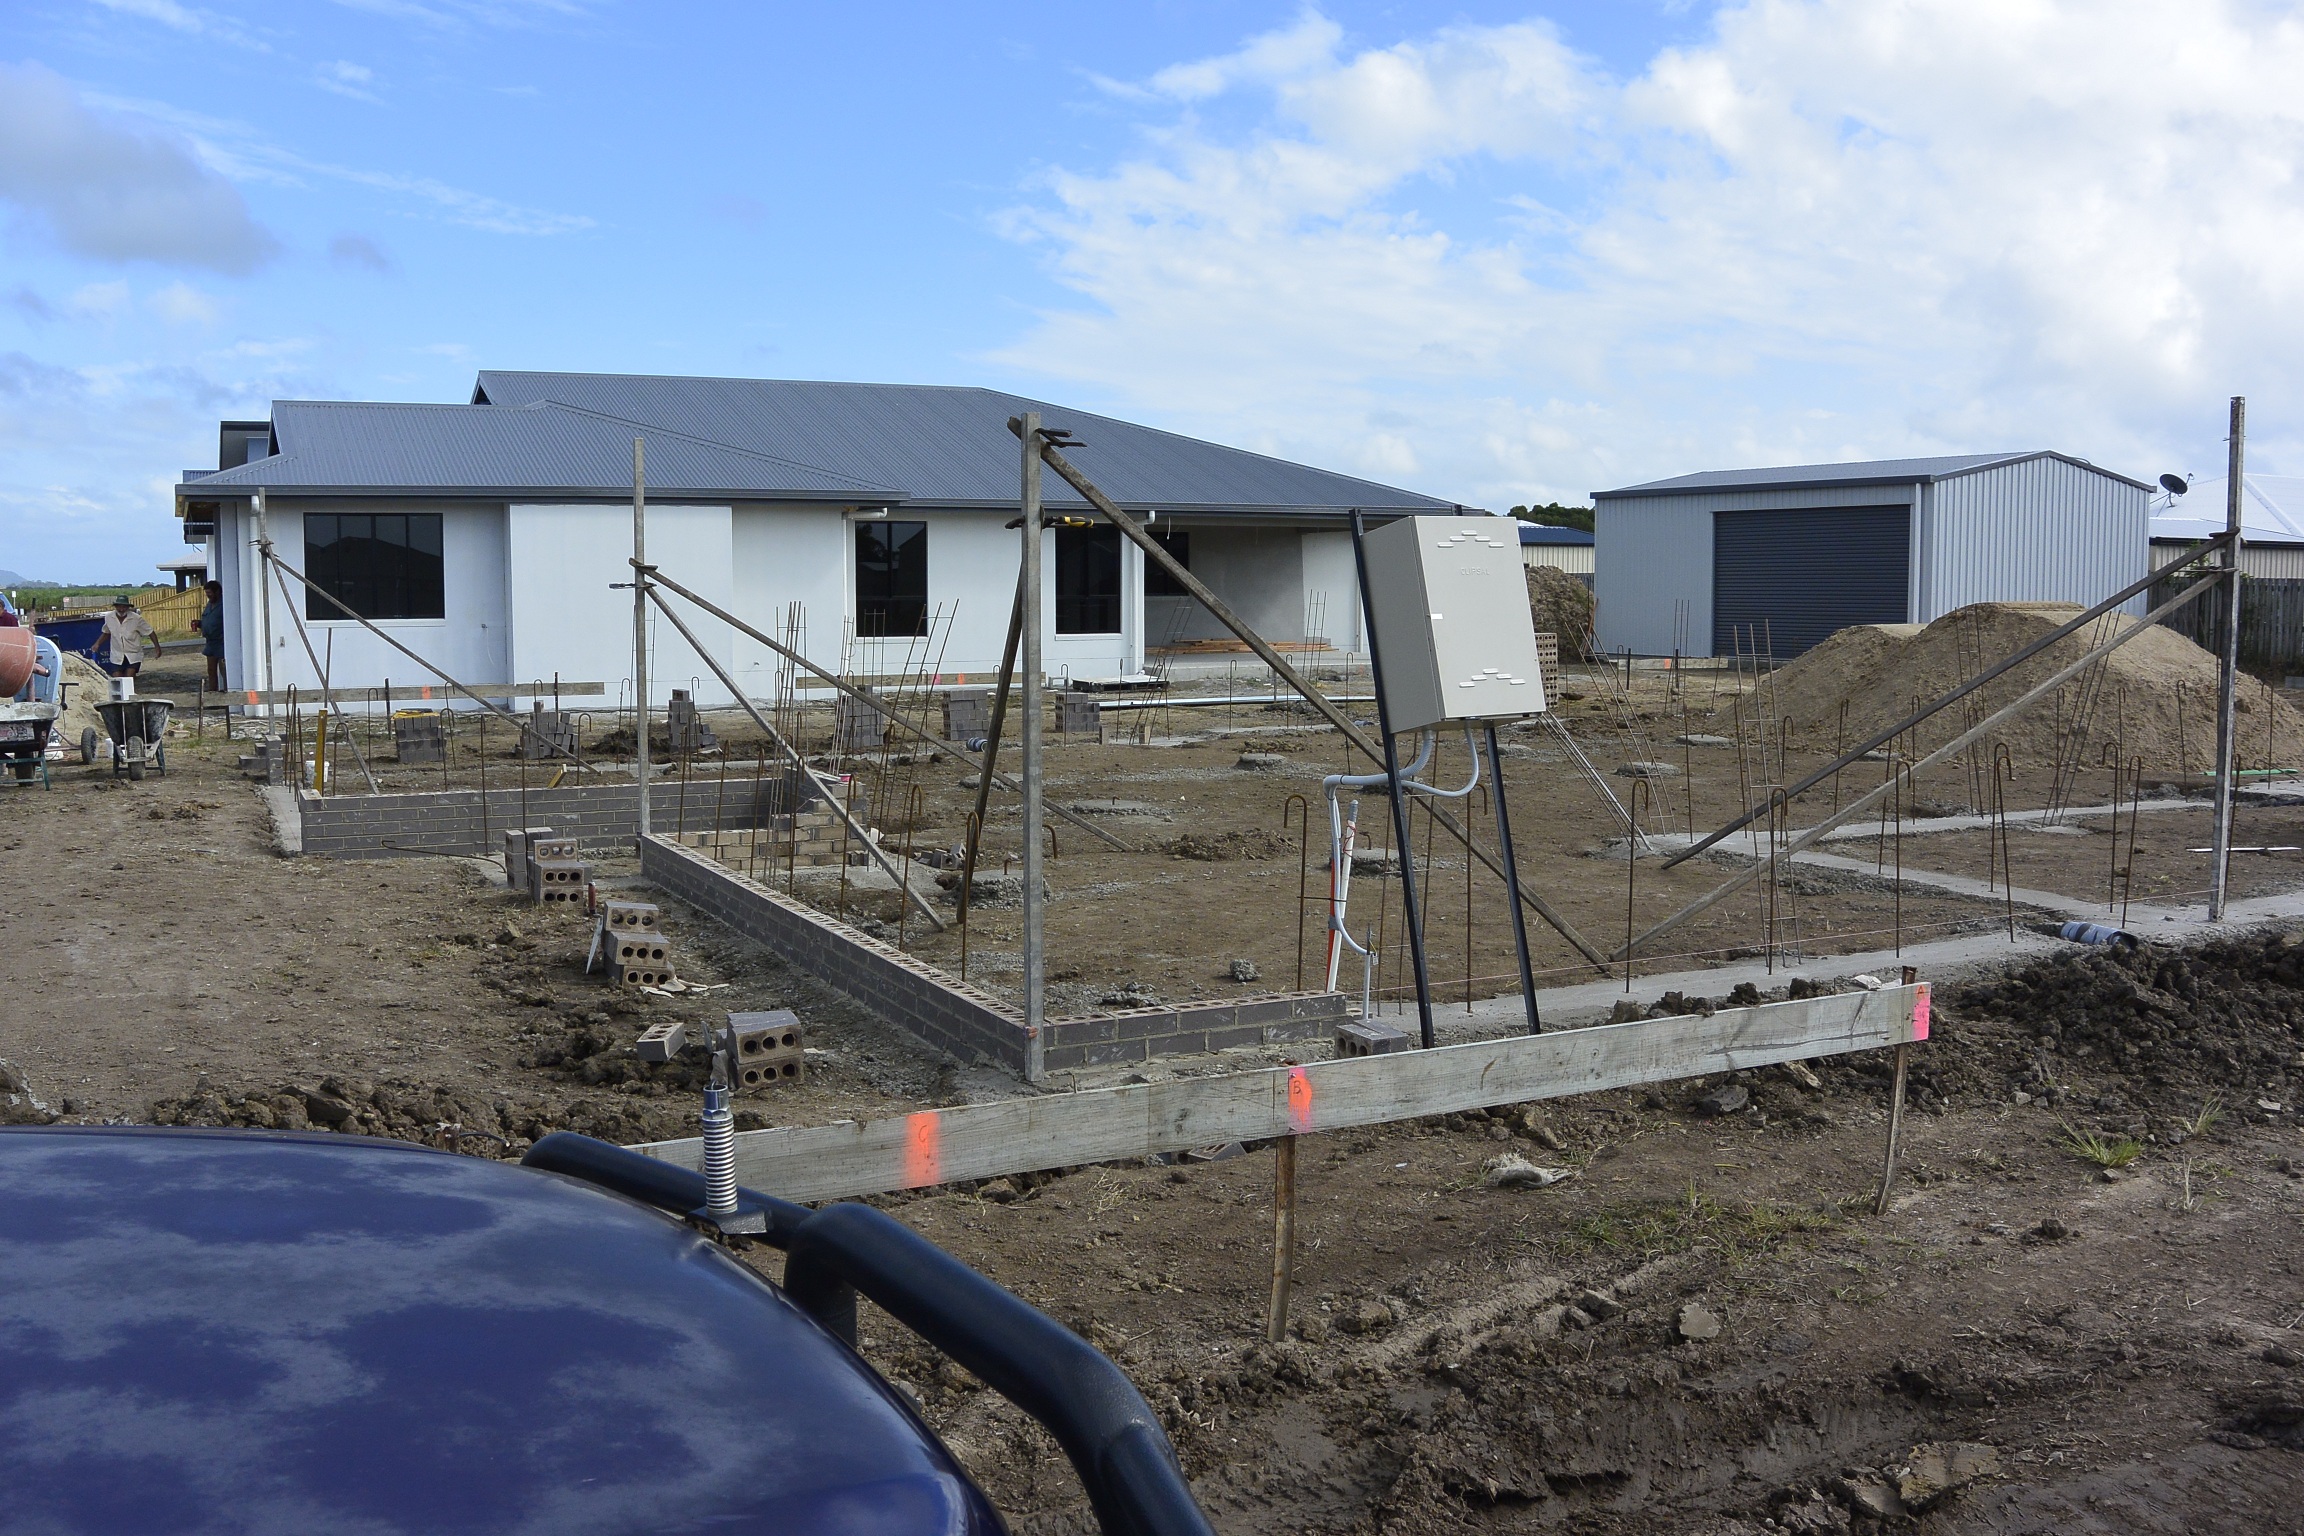
The footings around the outside of the house are called edge beams. The edge beams are dug into the ground.
The width of the edge beams is normally 300mm unless soil conditions require the edge beams to be wider.
The depth of the edge beam depends on the reactivity of the soil.
Steel reinforcement is placed into the edge beams.
The steel can’t be close to the ground or it will rust and fail – so concreters use plastic supports called ‘bar chairs’ to hold the steel away from the ground.
The amount of steel is specified by the structural engineer depending on the site reactivity and the depth of the edge beams.
If the soil where the edge beams are required, the builder sometimes digs the edge beams deeper so that the footing is dug into hard ground. The steel reinforcement is then suspended at the depth specified by the structural engineer.
The edge beams are filled with concrete up to ground level.
Steel starter bars are placed into the wet concrete at regular centres and are left sticking out of the footing to connect the slab to the edge beams.
The strip footings aren’t poured until the slab is poured.
The exact location of the starter bars isn’t very important, but their spacing is.
If you are an engineer, the diameter and spacing of the starter bars are a shear flow problem. There needs to be enough bars to make the slab and beams work as a single beam. The starter bars are not required if the edge beam and slab are poured at the same time.
Once the edge beam concrete has hardened, the concreters will place the sand that goes under the slab to make it the correct height. Sand or crusher dust or decomposed granite are all acceptable in my opinion.
The sand has to be compacted so that it is firm and hard because it has to support the wet concrete of the slab before it cures.
Once the sand is placed everywhere under the slab, the concreters remove the sand from where the strip footings run.
If the surface of the slab is high enough, the strip footings will be above the original ground level. Otherwise, the concreters have to dig through the sand and remove some of the original ground to get a deep enough strip footing.
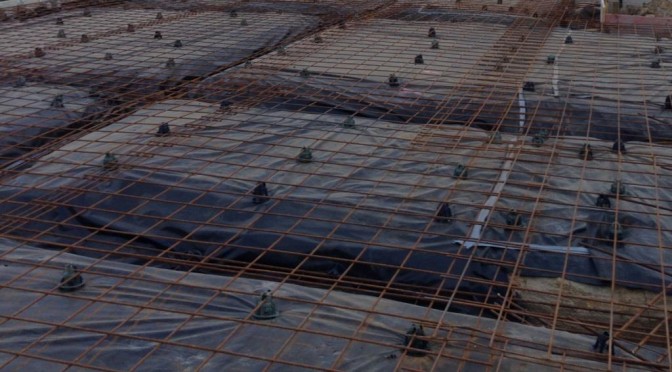
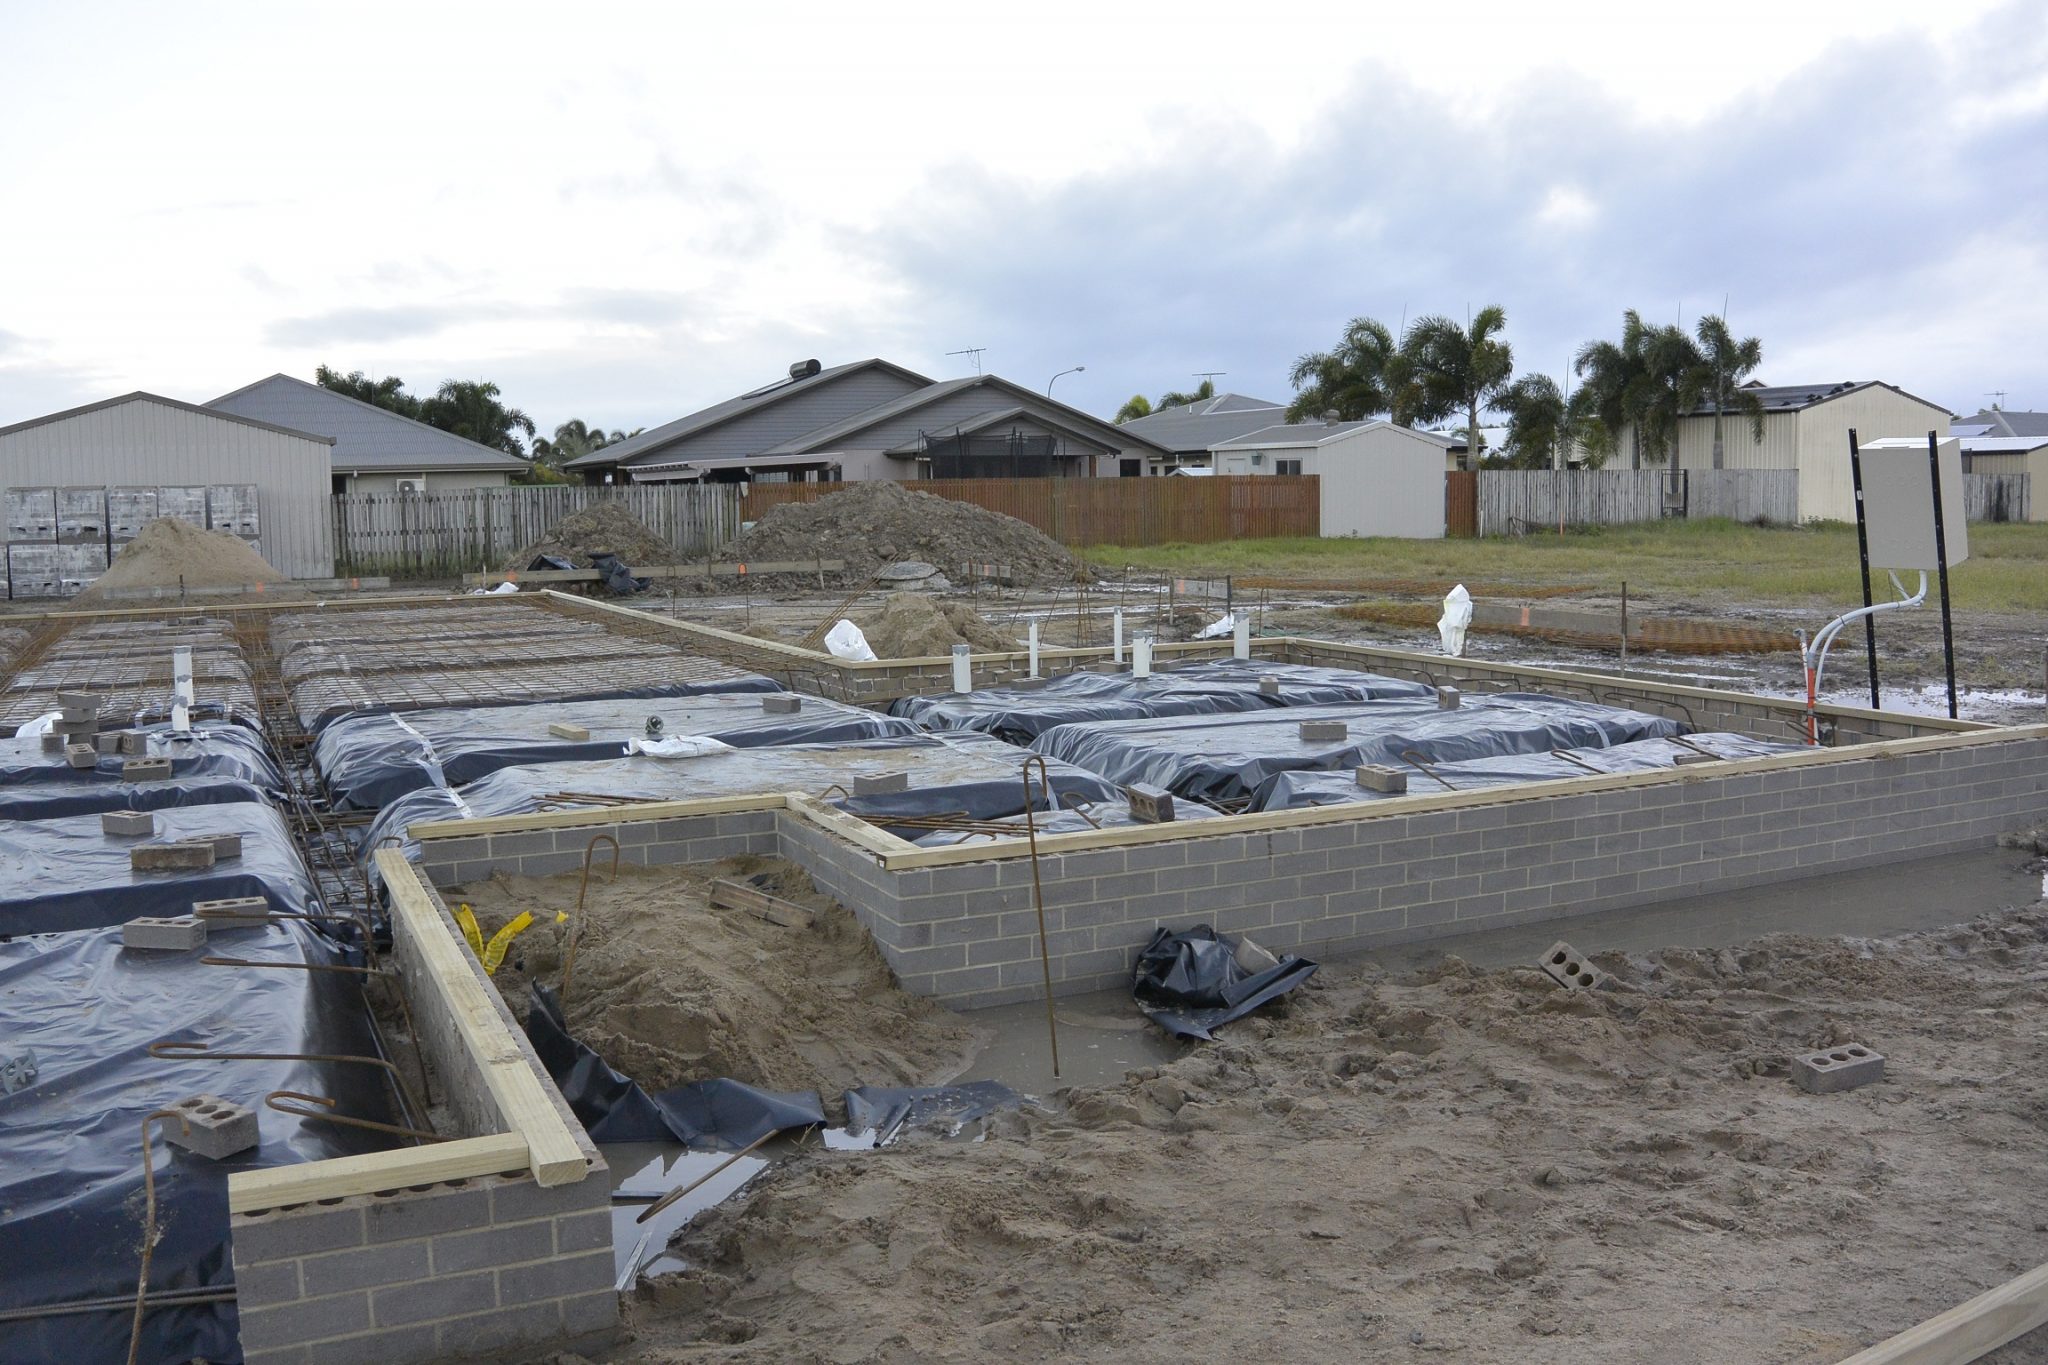
The concreters place a black plastic sheet into the strip footings and over all of the ground under the slab.
The edges of the sheets of black plastic have to be lapped and taped because the plastic stops the ground sucking moisture out of the wet concrete before it cures and also helps stop moisture rising out of the ground and through the concrete.
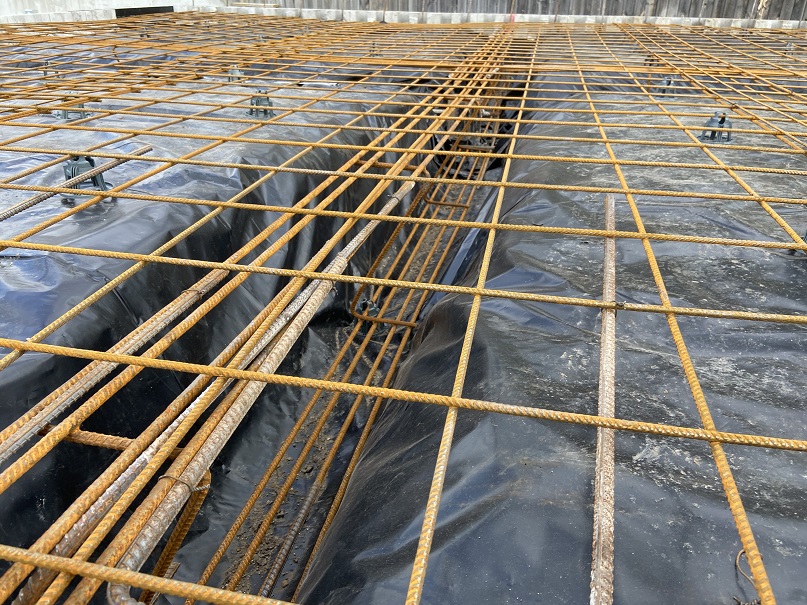
The concreters place steel trench mesh reinforcement into the strip footings and sheets of slab reinforcement mesh everywhere in the slab.
The concreters use plastic bar chairs to make sure the reinforcement is not touching the plastic and is not sitting so high it is poking out the top of the slab.
The slab reinforcement is very important because it helps control the size of cracks in the surface of the raft slab. See this post on shrinkage cracks.

Around the outside of the raft slab – above the edge beams – the concreters use formwork or concrete blocks to make the sides of the slab.
If the ground is sloping, sometimes the concrete blocks are laid before the sand is placed – but that makes it very difficult to place and compact the sand properly.
The concreters pour concrete into all of the strip footings and the slab using concrete trucks and concrete pumps. We prefer they use boom pumps because they are less likely to knock the bar chairs over.
The concreters make the concrete surface smooth and level (called screeding) and then allow the concrete to dry (called curing).
If the concrete dries too quickly, the surface can crack – just like mud cracks when the surface dries when it is still wet underneath. The concreters use special chemicals called ‘curing compounds’ to make sure the concrete all cures at the same time.

The concrete reaches its full design strength in less than 28 days (normally about 23 days) but the slab can be walked on and worked on well before that.
The formwork is normally removed the day after the concrete is poured.
Raft slabs are designed by structural engineers experienced in residential construction.
There are lots of rules for working out the depth and spacing of strip footings in a raft slab so it is very important to get them right.
An experienced structural engineer can give you an accurate and cost-effective raft slab designed to suit your site.
Cornell Engineers has been designing raft footings and slabs since 2003.
Our footing and slab designs comply with AS2870-2011, the Australian residential footings and slabs code.
When we design raft slabs we ensure your slab is suitable for your site by designing your slab to comply with the soil conditions on your site as described in your soil test.
We save you money by making sure our raft slabs drawings are easy to understand and easy to build from.